Choose the Boom Type (Straight vs Knuckle)
Knuckle Boom (Articulating) — Best for Tight Space
Ideal when you need to lift over/around obstacles and position loads quickly in confined jobsites.
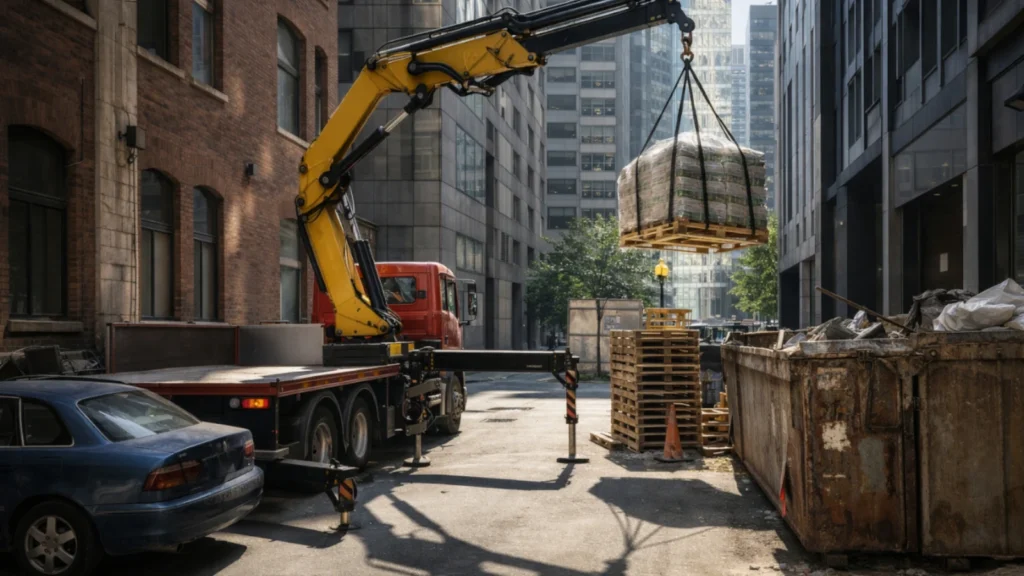
Rule of thumb: If 70% of your jobs are in tight space or obstacle areas, knuckle boom is usually the best choice.
- Urban streets, narrow yards, warehouses
- Utilities, municipal work, multi-stop delivery
- Frequent positioning around obstacles
Straight Boom (Telescopic) — Reach & Simplicity
Ideal when you work in open areas and need direct outreach with a simpler, reliable structure.
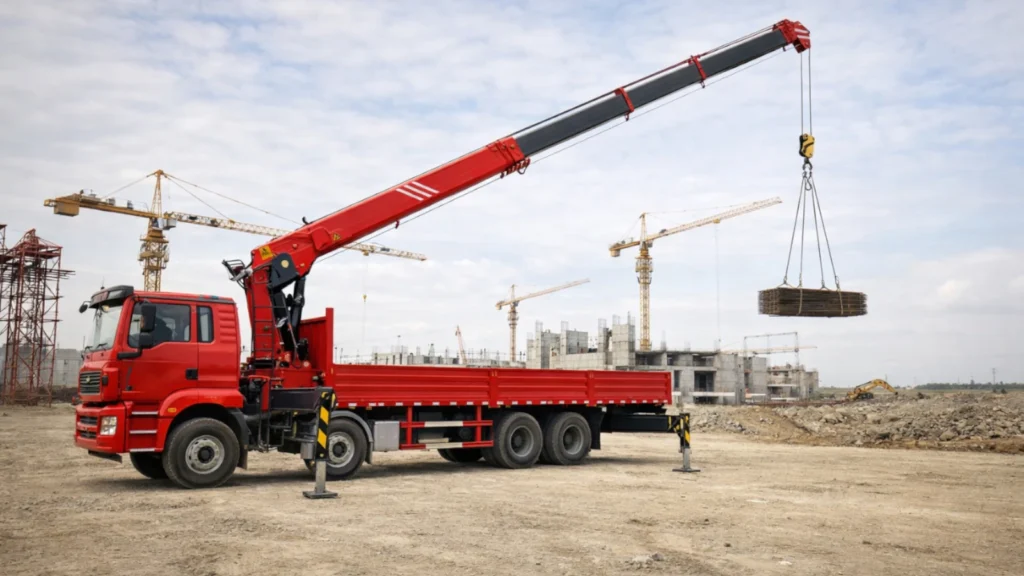
Rule of thumb: If 70% of your jobs are open-site and reach-driven, straight boom is usually the best choice.
- Open construction sites, general lifting
- Point-to-point placement at mid/long radius
- Customers who prefer simpler maintenance routines
Straight Boom vs Knuckle Boom — Practical Comparison
| Comparison Item | Straight Boom (Telescopic) | Knuckle Boom (Articulating) |
|---|---|---|
| Best for | Open job sites, direct long outreach, general lifting | Tight space, obstacle lifting, fast positioning |
| Typical scenarios | Construction material placement, open yard lifting, site lifting | Utilities, municipal work, warehouses/yards, urban delivery |
| Structure | Multi-section telescopic boom, straight-line structure | Articulated joints + cylinders, folding and multi-angle positioning |
| Maneuverability in tight space | Lower (needs clearer operating space) | Higher (can fold and work in confined space) |
| Positioning around obstacles | Limited, needs clearer lifting path | Excellent, can lift over/around obstacles |
| Positioning efficiency | Strong for direct point-to-point lifting | Strong for complex angles and multi-stop work |
| Reach focus | Direct outreach and straightforward boom path | Flexible outreach with angle control and folding |
| Maintenance focus | Fewer articulation points; routine hydraulic checks | More joints/pins; lubrication and pin inspection are critical |
| Maintenance difficulty (typical) | Lower (simpler structure) | Medium (more joints/cylinders, needs good routine) |
| Common buying risk | Underestimating working radius; choosing by tonnage only | Ignoring outrigger space limits; forgetting attachment weight |
| What to confirm first | Real capacity at your typical radius on the load chart | Real capacity at your typical radius + outrigger condition + attachment weight |
| “70% jobs” rule | Choose if 70% jobs are open-site and reach-driven | Choose if 70% jobs are tight-space and obstacle-driven |
| Best next step | Request load chart based on your radius and height | Request load chart + confirm site space for outriggers |
A Simple 5-Step Selection Method
- Define your regular load (not the rare maximum).
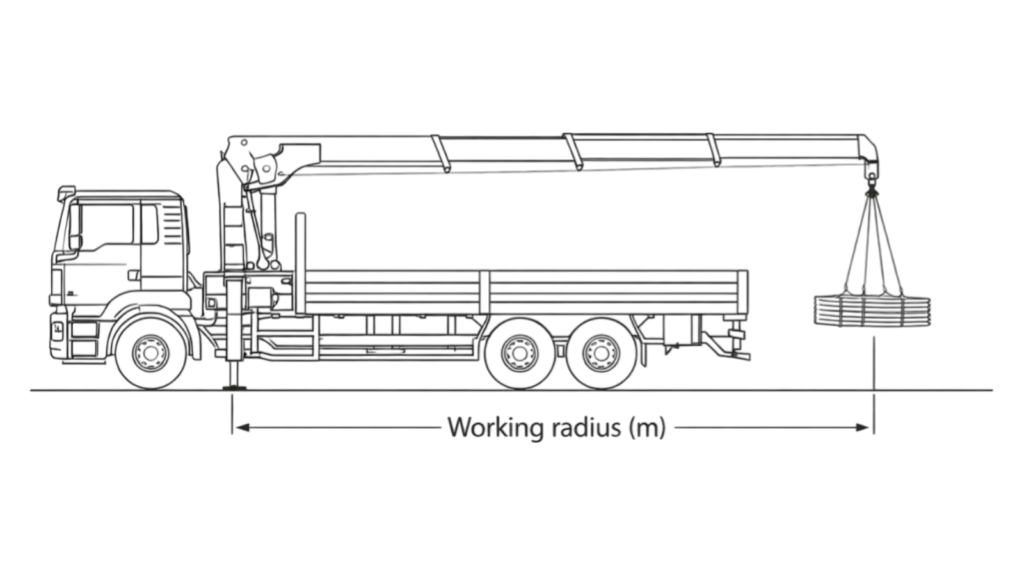
- Confirm working radius (m) — distance from truck centerline to load center.
- Check lift height (m) — hook height needed at the real position.
- Choose boom type — straight vs knuckle based on space/obstacles.
- Confirm stability & compatibility — outriggers, ground, chassis match, then verify by load chart.
Stability & Truck Compatibility
Outriggers & Ground
- Wider outrigger span generally improves stability and usable capacity at radius.
- Partial outrigger extension reduces capacity—follow the chart for that condition.
- Soft/uneven ground requires pads/plates to prevent sinking and tilt.
Chassis Match ( crane only / complete truck)
We can supply complete truck solutions (crane + chassis) or the crane unit only for mounting on your existing truck.
For mounting confirmation, provide: GVW, axle configuration, frame width, available mounting length, rear overhang.
Send Your Details — Get the Most Cost-Effective Solution
Share your load and working radius, and we’ll recommend the most cost-effective configuration with the correct load chart.
What you get:
- Pre-sales engineer consultation based on your real application
- Configuration confirmation during production
- Full lifecycle technical guidance after delivery
- Spare parts support and timely response (on-site support available if required)